Have you checked out "What's New" and "Customer Feedback"
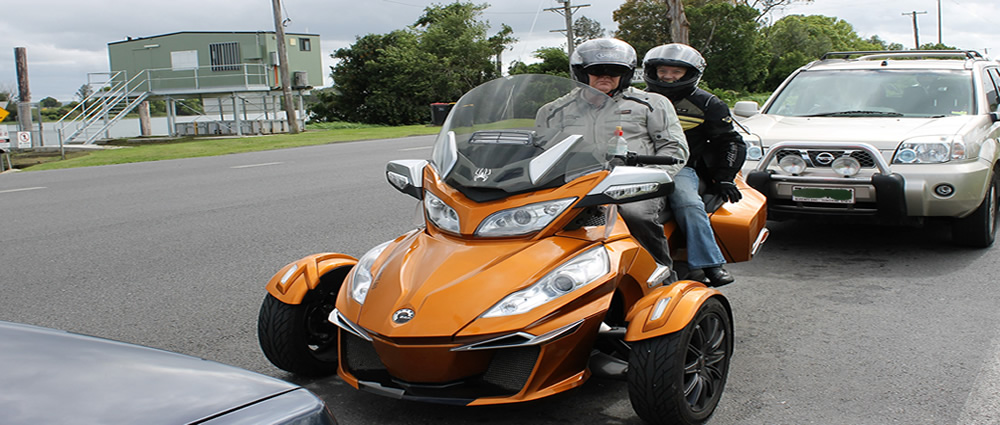
Can Am Spyder aftermarket parts and accessories
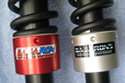
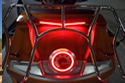
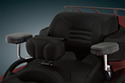
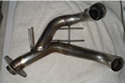
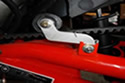
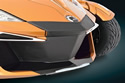
From air filters, to brake pads to windscreens, we stock and distribute product in Australia from Baja Ron, Custom Dynamics, Rivco, Smoothspyder, Madstad, Tricled, Show Chrome, Ultraguard,Spyderpops , Canamspyderaccessories.com and many others. Only for the Can Am Spyder.
If you have any problems with the functions on this web site please email martin@spyderryders.net.au